You haven't signed in yet, you can have a better experience after signing in
 Visual Sub Mount Virtual Drive SUBST Alternative Tool Software

Activity Rules
1、Activity time:{{ info.groupon.start_at }} ~ {{ info.groupon.end_at }}。
1、Activity time:cease when sold out。
2、Validity period of the Group Buying:{{ info.groupon.expire_days * 24 }} hours。
3、Number of Group Buying:{{ info.groupon.need_count }}x。
Please Pay Attention
1、Teamwork process: Join/initiate a Group Buying and make a successful payment - Within the validity period, the number of team members meets the activity requirements - Group Buying succeeded!
2、If the number of participants cannot be met within the valid period, the group will fail, and the paid amount will be refunded in the original way.
3、The number of people required and the time of the event may vary among different products. Please pay attention to the rules of the event.
The best SUBST alternative with tag, recycle bin, UAC support, and mounting virtual drives
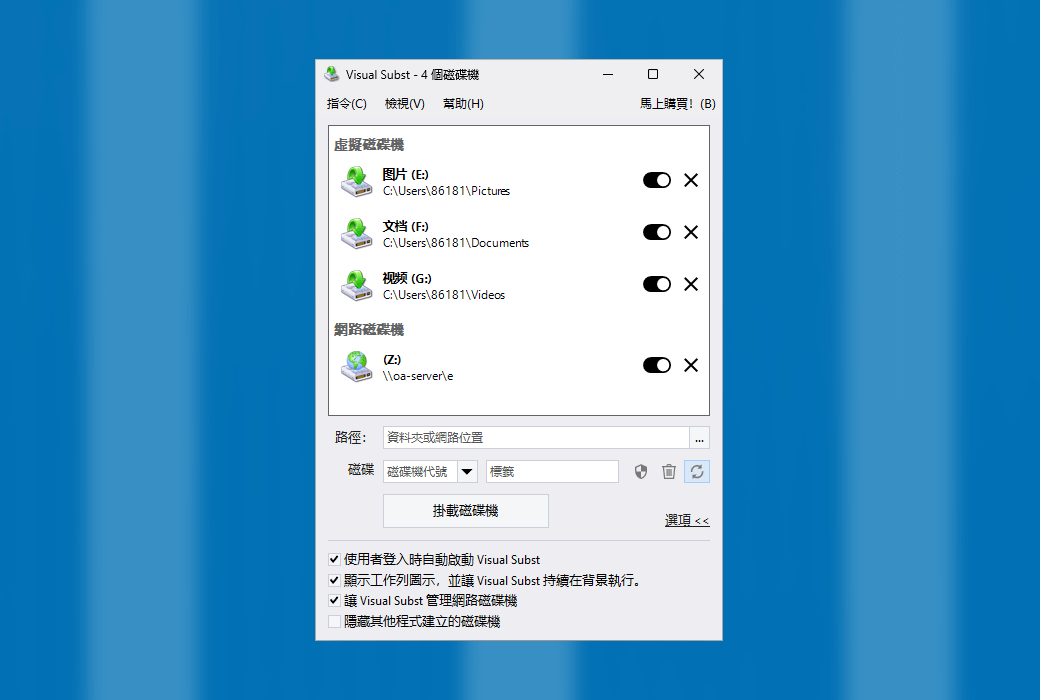
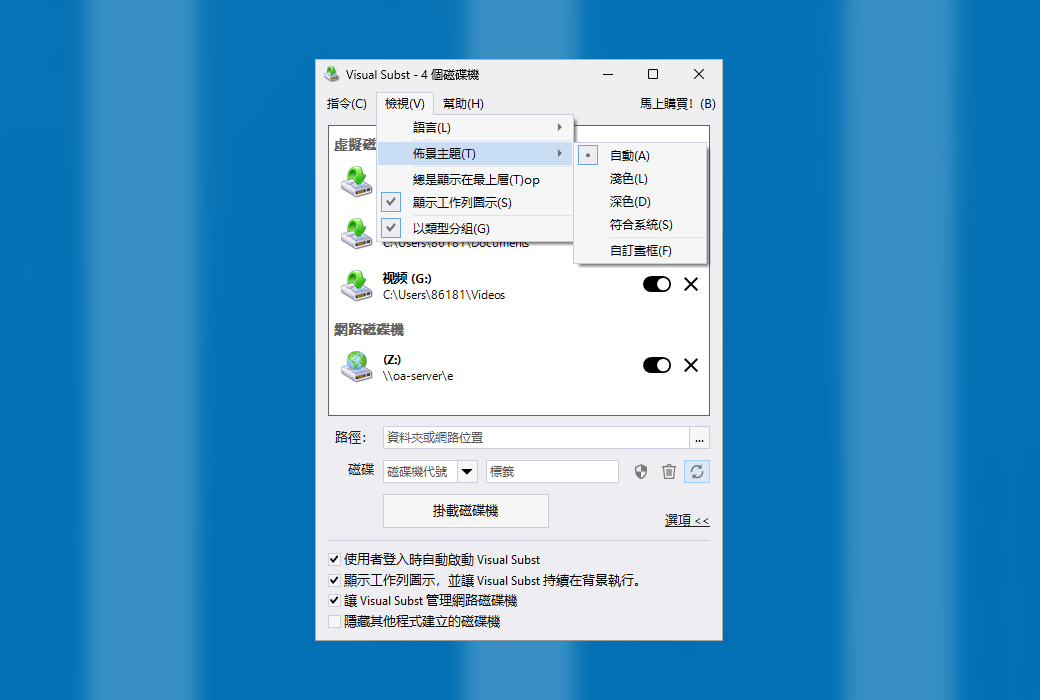
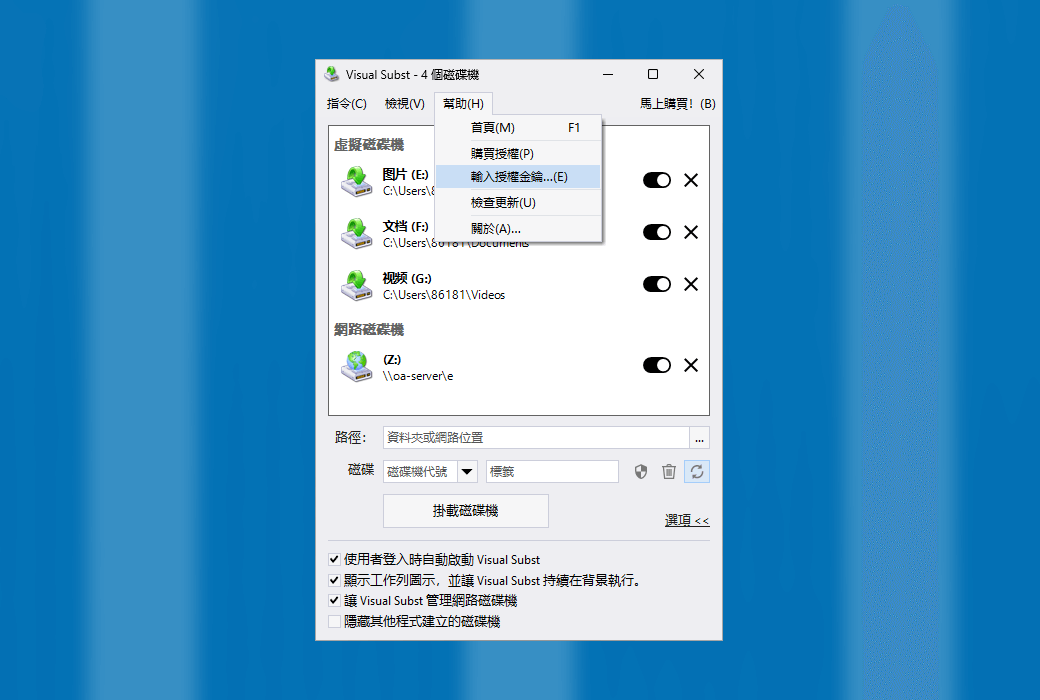
Visual Subset provides you with a clean, simple, and interference free user interface where you can manage all virtual and network drives at once. It solves four main issues with the built-in "SUBST" and "NET USE" commands: enabling editable drive labels, creating UAC drives for elevated applications, managing the recycle bin for deleted items, and restoring virtual drives after reboot.
You can use virtual drives anywhere - simply use a single drive letter to easily access files in the project directory you are currently working on. Download the visual entity immediately and try it yourself!
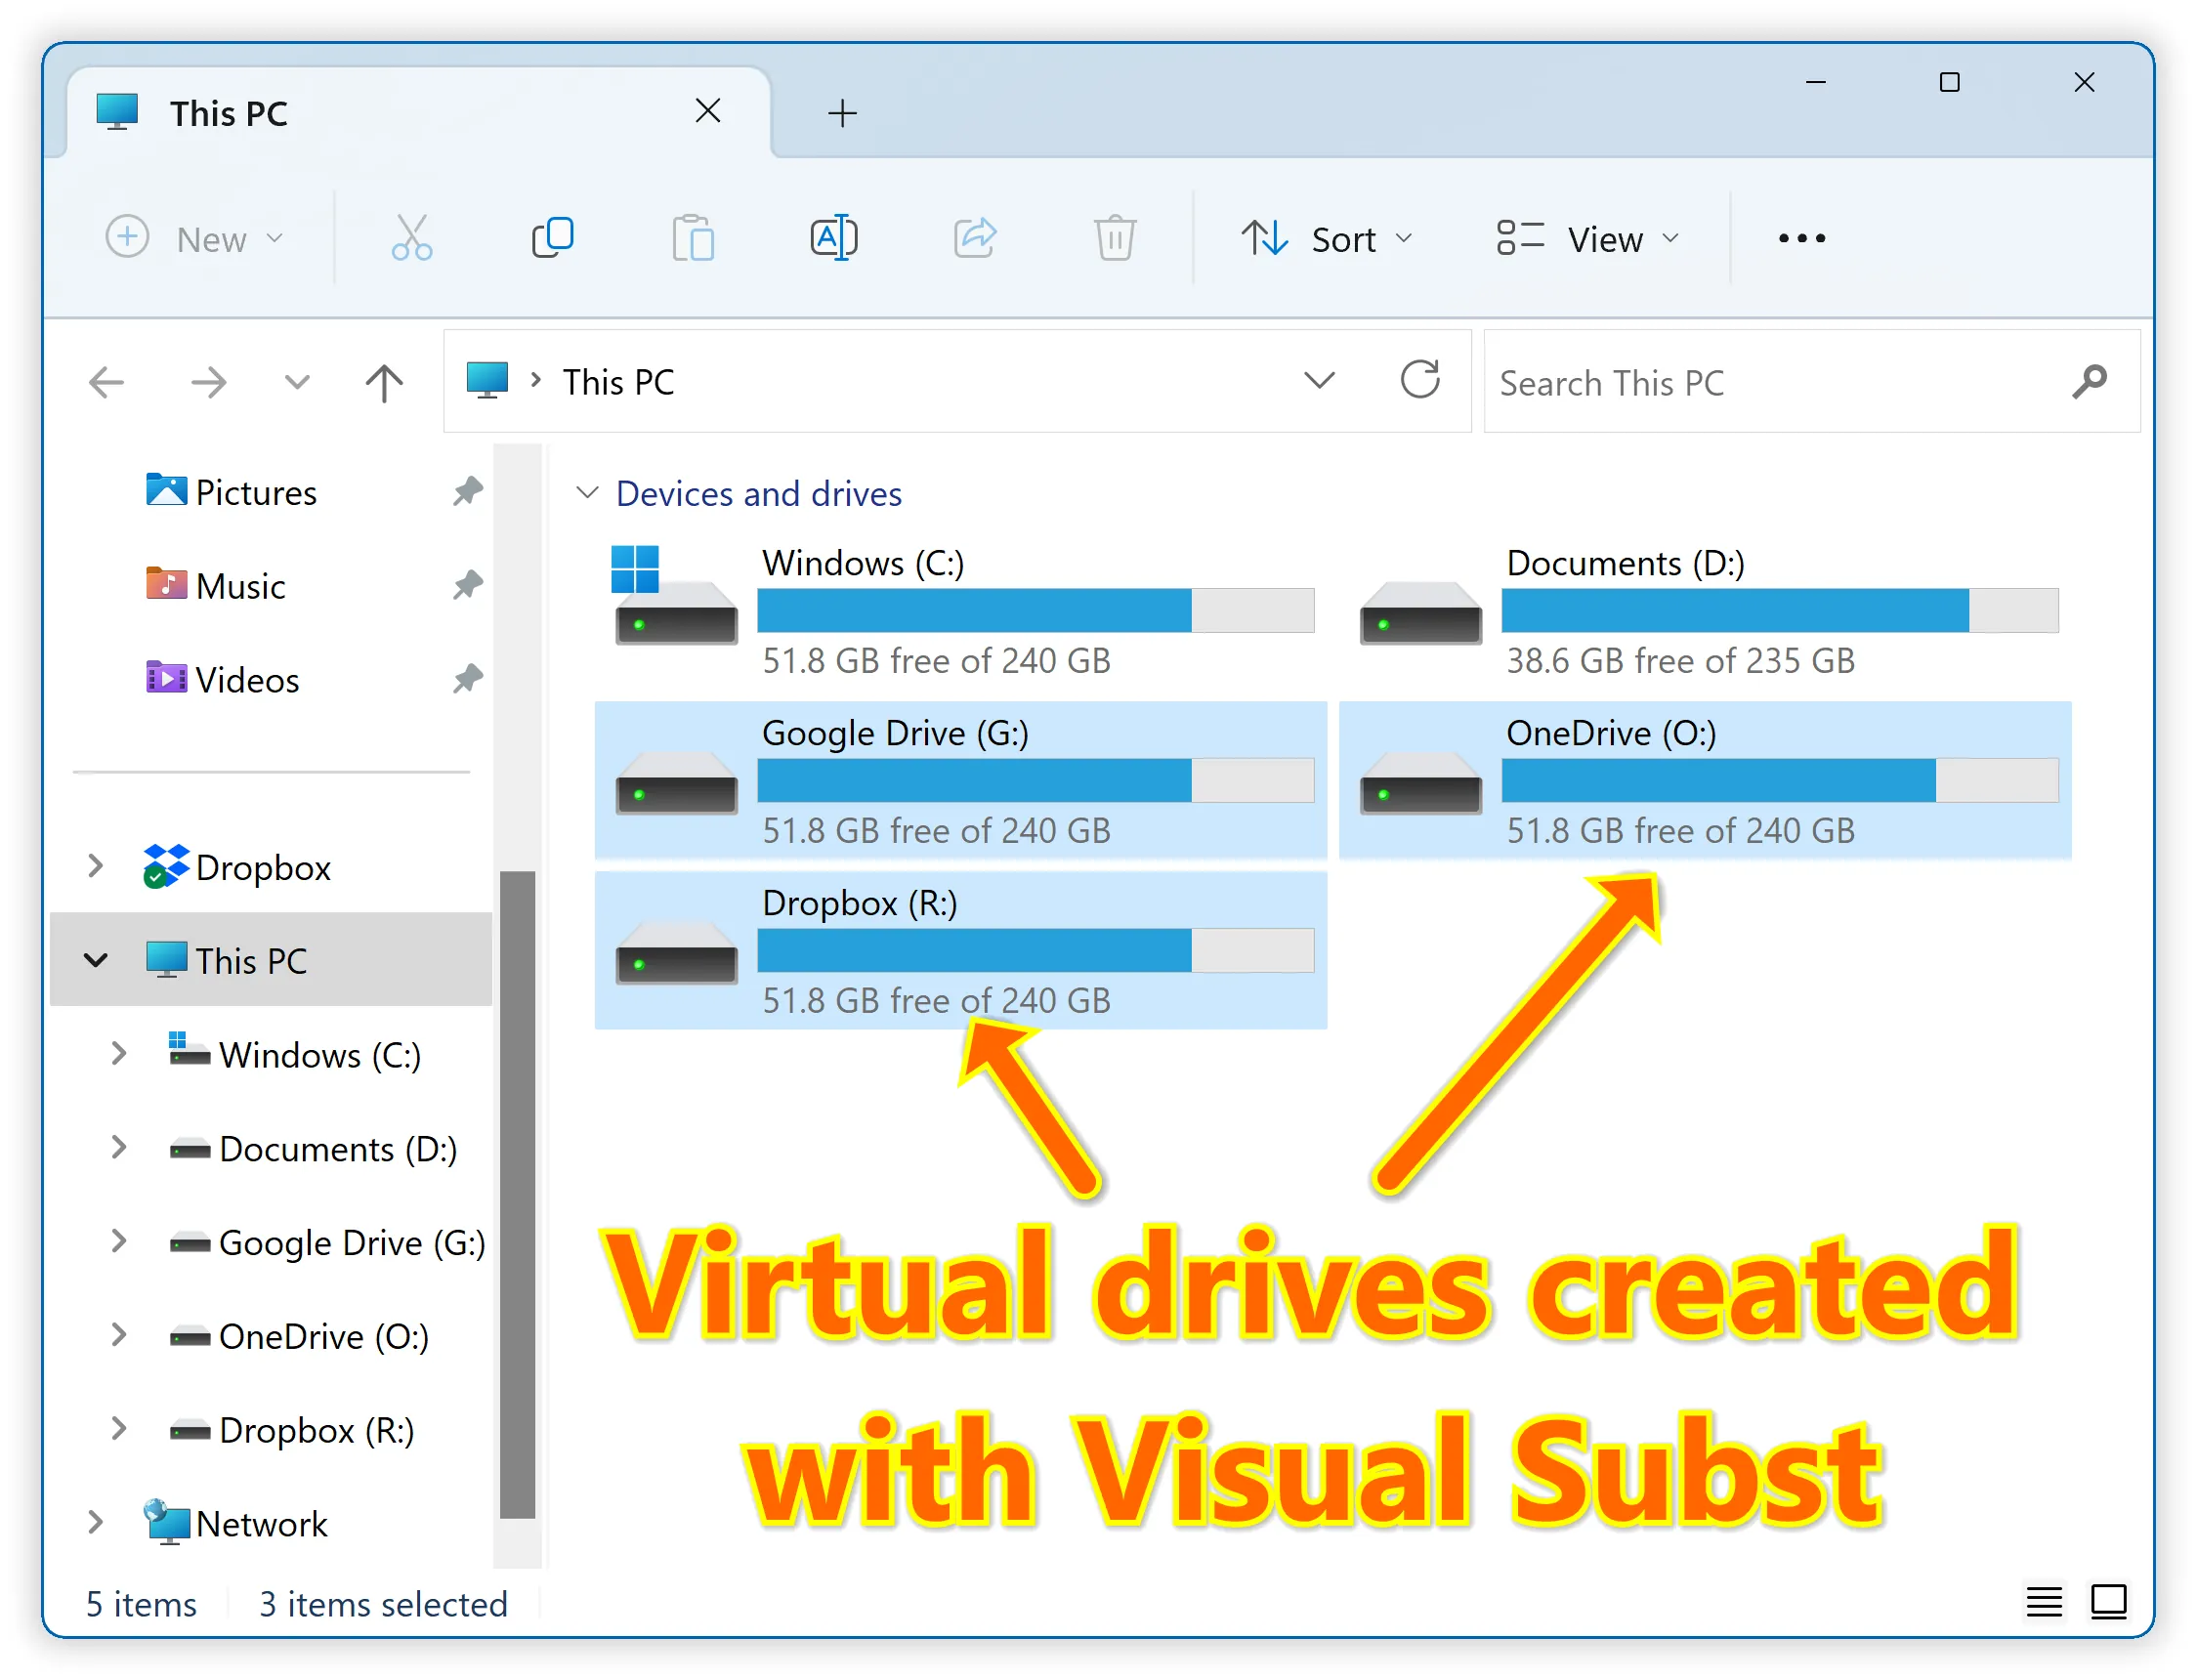
Map Google Drive, OneDrive, or Dropbox to a virtual drive
Despite having the same name, all three services only create a shared folder on your PC, not the actual drive. Visual Subset is the simplest solution to map these shared folders into virtual drives with custom labels and drive letters, so that you can access files more conveniently.
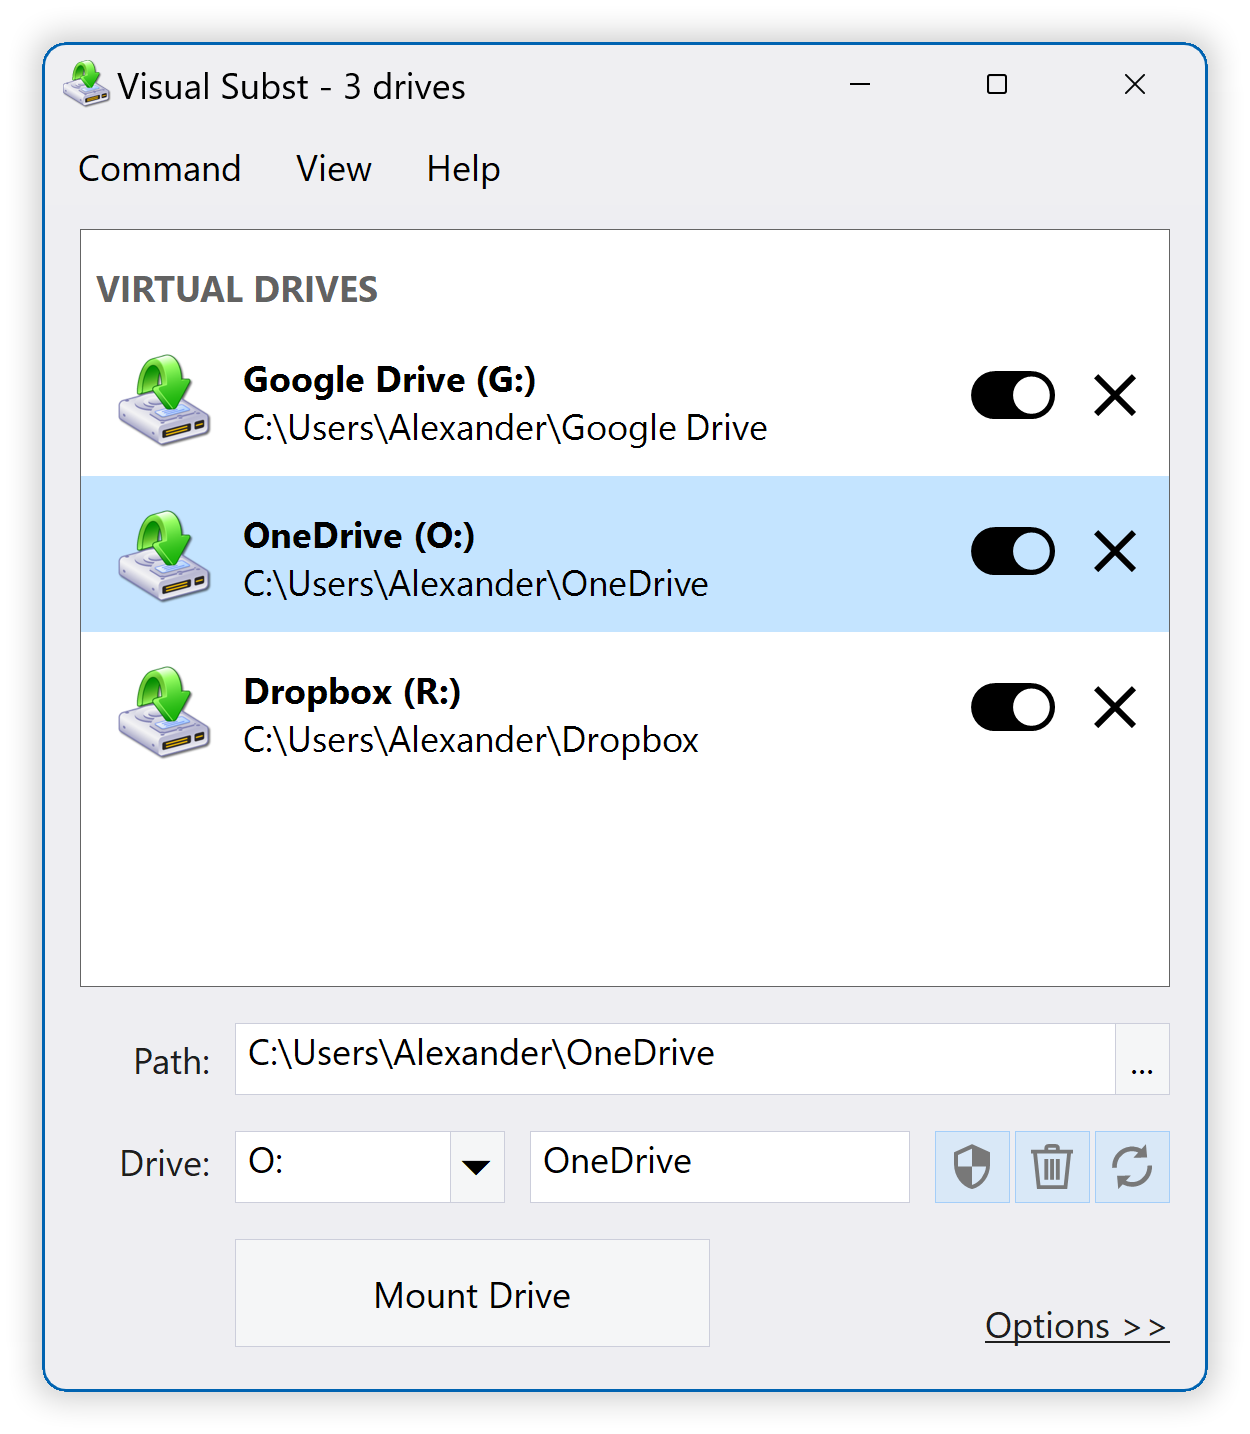
Add the shared folder to Visual Subset to create a virtual drive:
Why use Visual Subset?
Any experienced PC user can easily write batch files or scripts to create virtual drives using the built-in "SUBST" or "NET USE" commands and run them at startup. However, this method has some significant limitations under modern Windows operating systems. This is where the essence of vision comes into play!
Virtual Drive Label
Firstly, you cannot define virtual drive labels using built-in commands, nor can you edit them in Windows Explorer. For virtual drives created using 'SUBST', Windows always uses the label of the source path drive unless you use a visual Subset to solve this problem for you.
Visual Subset allows you to easily define and edit virtual drive labels in a semi-automatic manner, using folder names as labels for newly created drives by default.
Recycle Bin for Virtual Drives
If you have ever tried to delete files or folders from a virtual drive created using built-in commands, you will know that it always comes with a message asking you to permanently delete them.
UAC driver for elevated applications
Virtual drives created using the 'SUBST' command are not visible to elevated applications. For example, if you run the command prompt as an administrator and attempt to use a virtual drive created using a non elevated batch file, you will see that the drive does not exist for elevated processes.
Using Visual Content Management Network Drive
Network drives created using Visual Subset appear as regular network drives in Windows Explorer, but you can enable the "UAC Drive" and "Recycle Bin" features in the same way as virtual drives.
Enable/disable virtual drives as needed
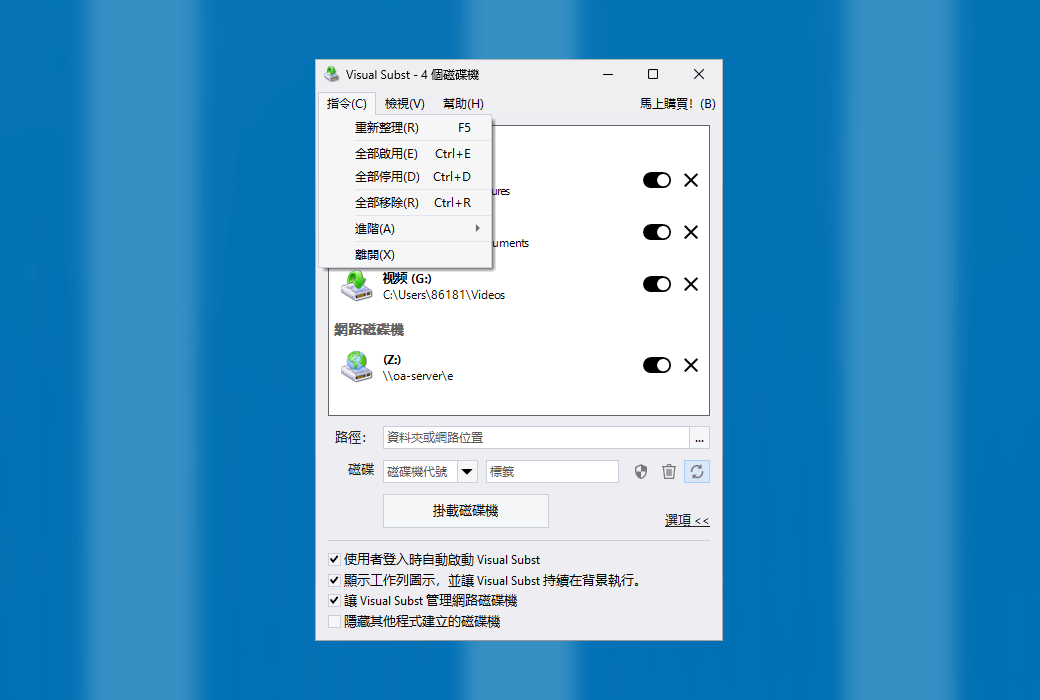
With Visual Subset, you can easily disable virtual drives that are currently not needed, and then enable them again with just one click. You can also disable or enable all drives at once from the context menu.

Official website:https://www.ntwind.com/software/visual-subst.html
Download Center:https://visual-subst.apsgo.cn
Backup Download:N/A
Delivery time:Manual online processing
Operating platform:Windows
Interface language:Supports traditional Chinese interface display, with multiple languages available.
Update instructions:The manufacturer promises a one-time purchase with lifelong updates and upgrades.
Pre purchase trial:Free trial before purchase.
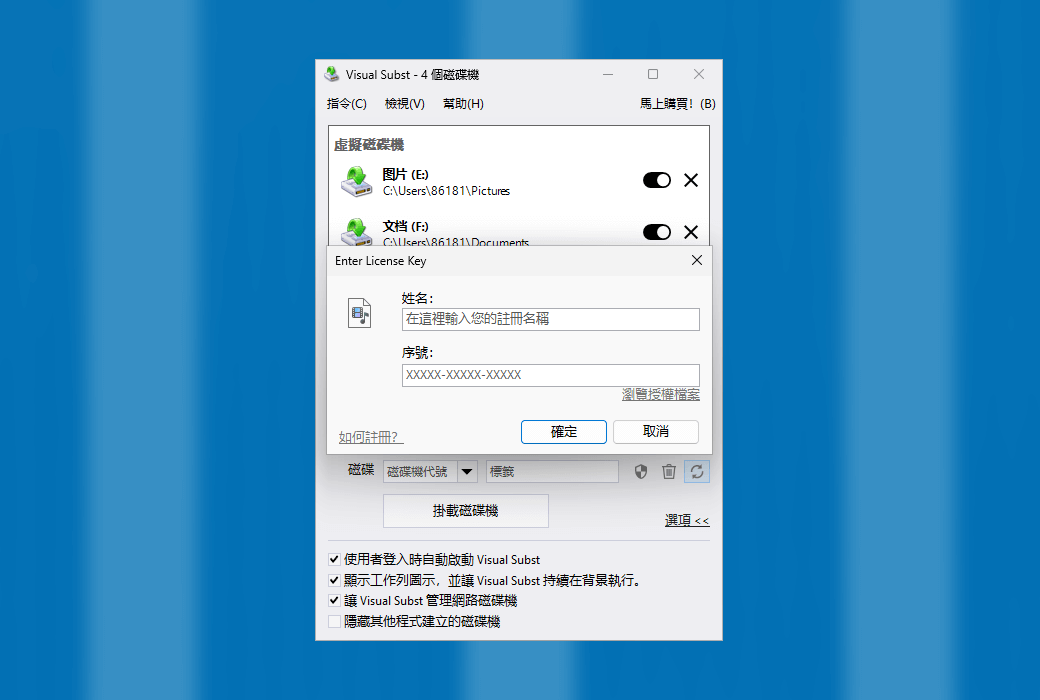
How to receive the goods:After purchase, the activation information will be sent to the email address at the time of placing the order, and the corresponding product activation code can be viewed in the personal center, My Orders.
Number of devices:Can install 1/3 computers, depending on the license purchased.
Replacing the computer:Uninstall the original computer and activate the new computer.
Activation guidance:To be added.
Special instructions:To be added.
Reference materials:https://www.ntwind.com/software/visual-subst/register.html

Any question
{{ app.qa.openQa.Q.title }}
How do I map Google Drive, OneDrive, or Dropbox to a virtual drive with Visual Subst?
How to map Google Drive, OneDrive, or Dropbox to a virtual drive with Visual Subst:
Despite the name, all three services (Google Drive, OneDrive, and Dropbox) only create a shared folder on your PC, not the actual drive. For advanced users, this is definitely not enough. Visual Sub is the simplest solution to map these shared folders to virtual drives with custom labels and drive letters, so that you can access files more easily.
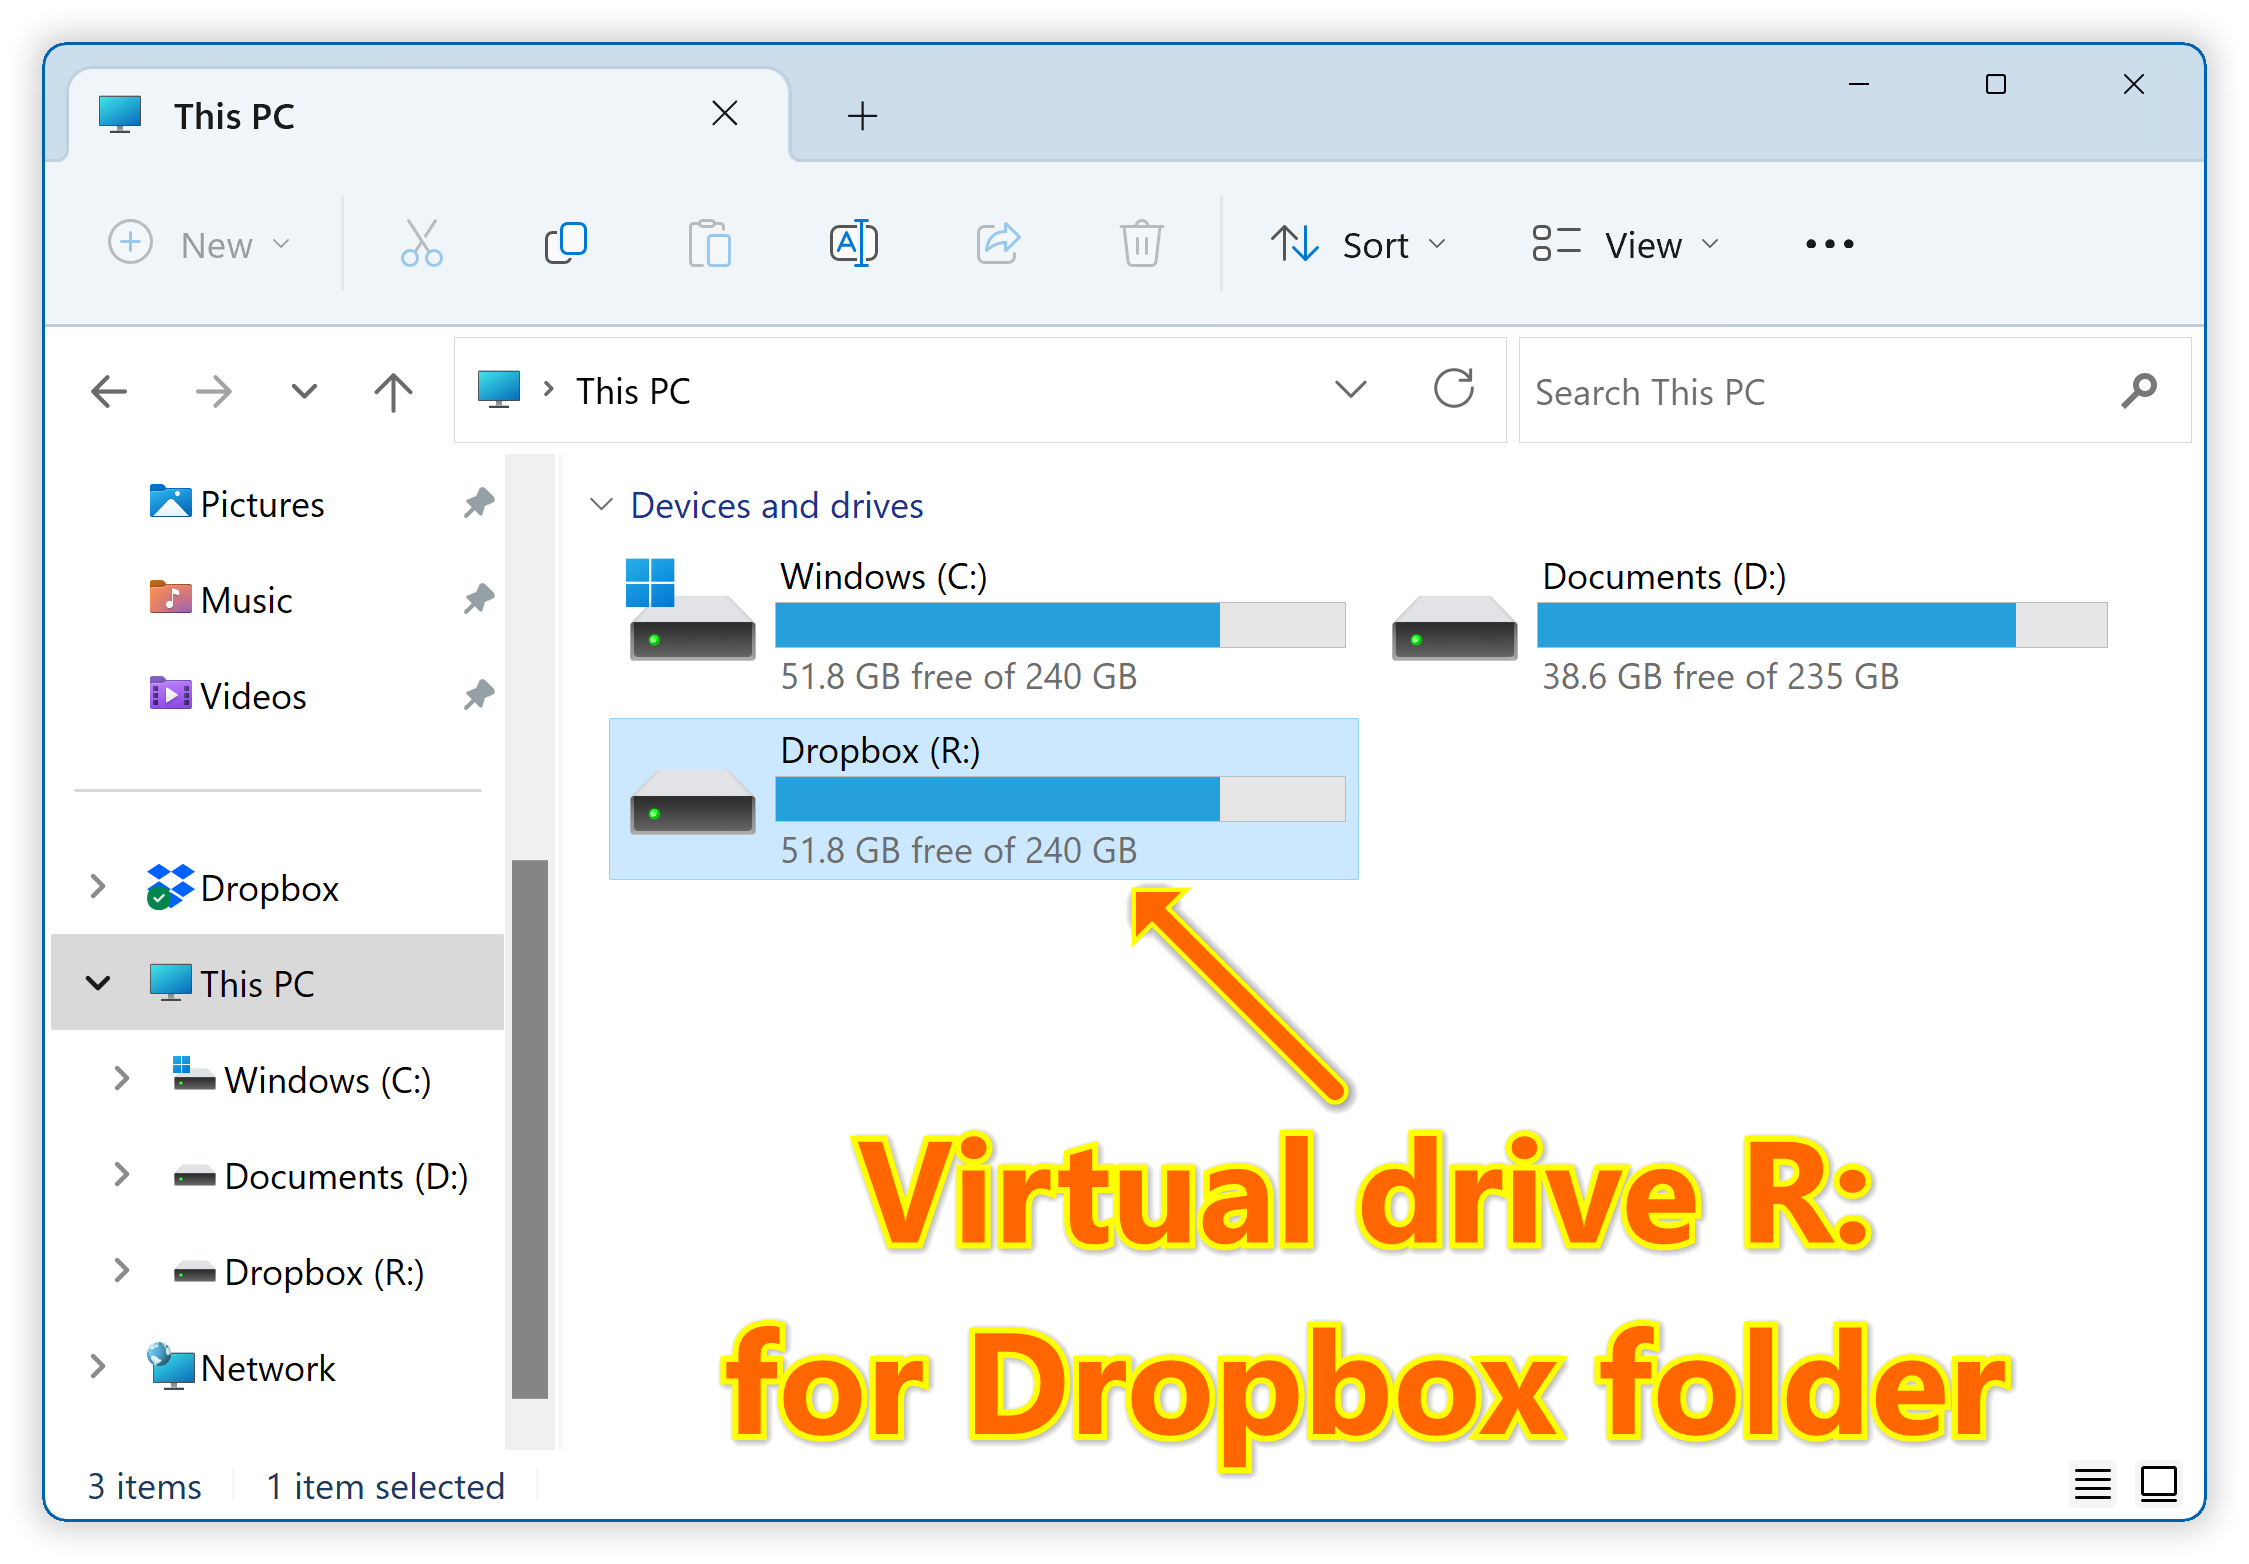
Find Shared Folder
Default location for shared folders (< username> is your Windows account):
C: User < Username> \Google Drive
C: User < Username> \Dropbox
C: Users < User Name> \OneDrive
If the shared folder is located in a different location, right-click the corresponding folder in Windows Explorer, and then check the complete path in the properties.
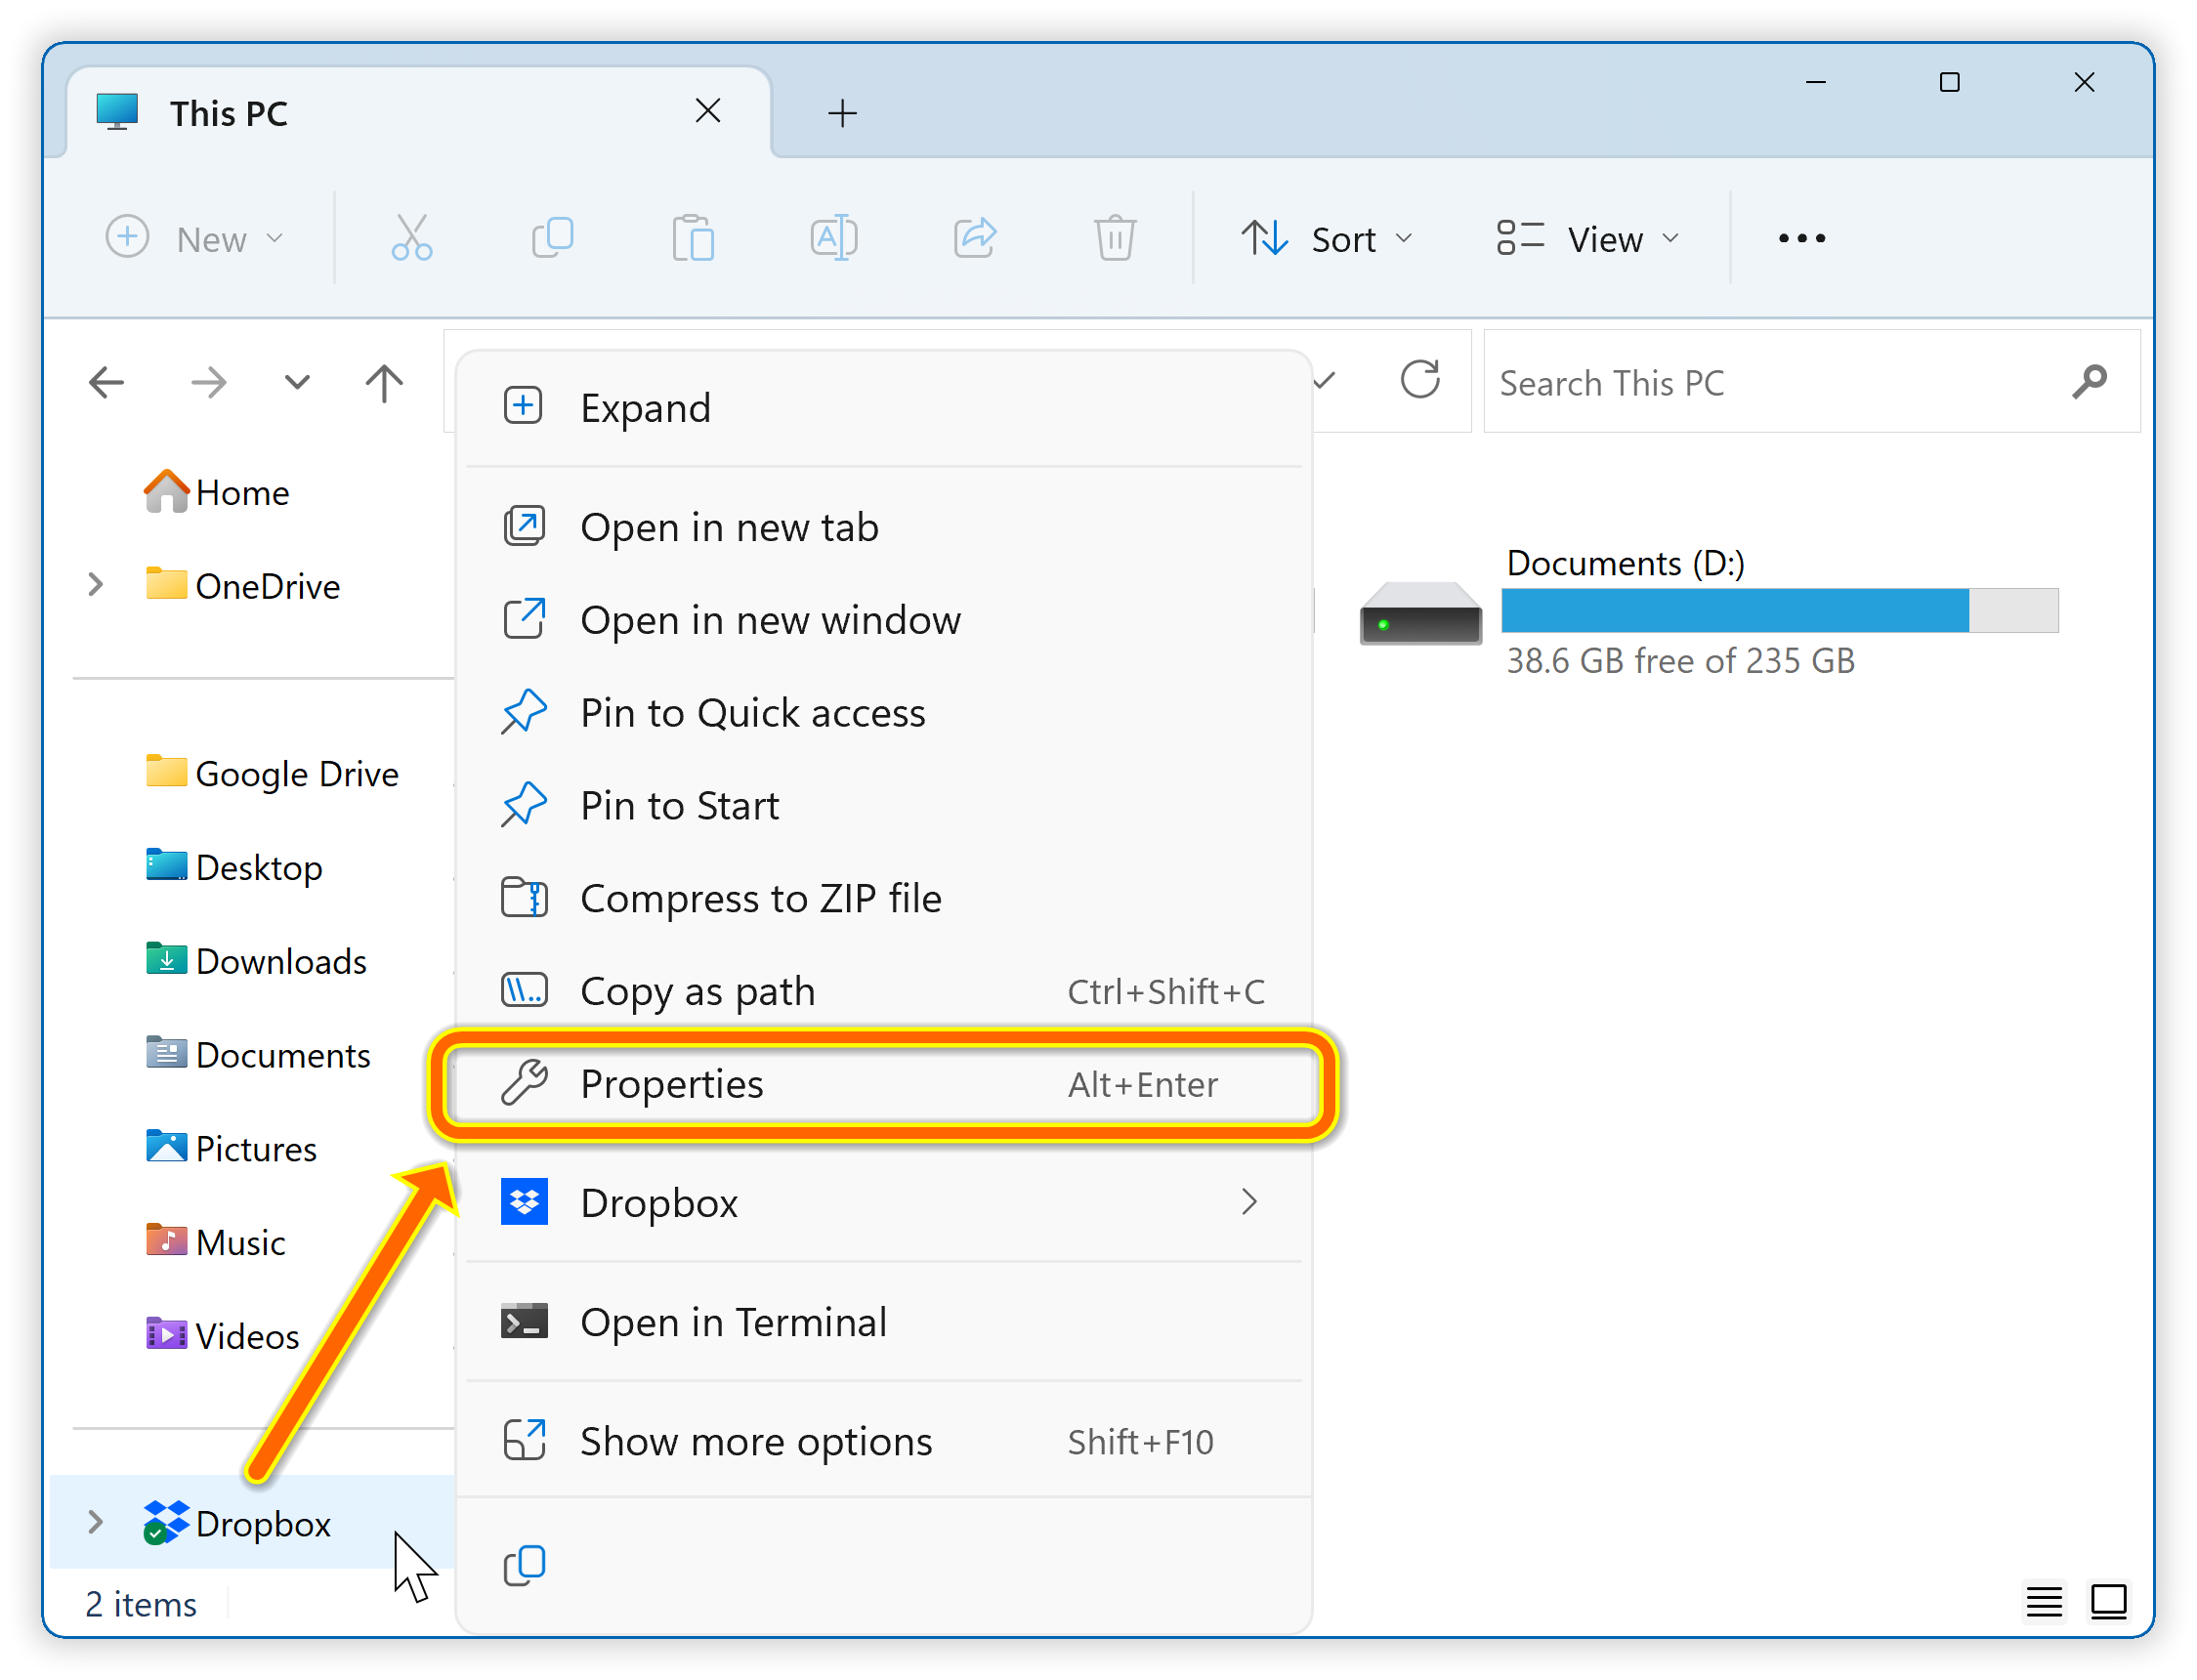
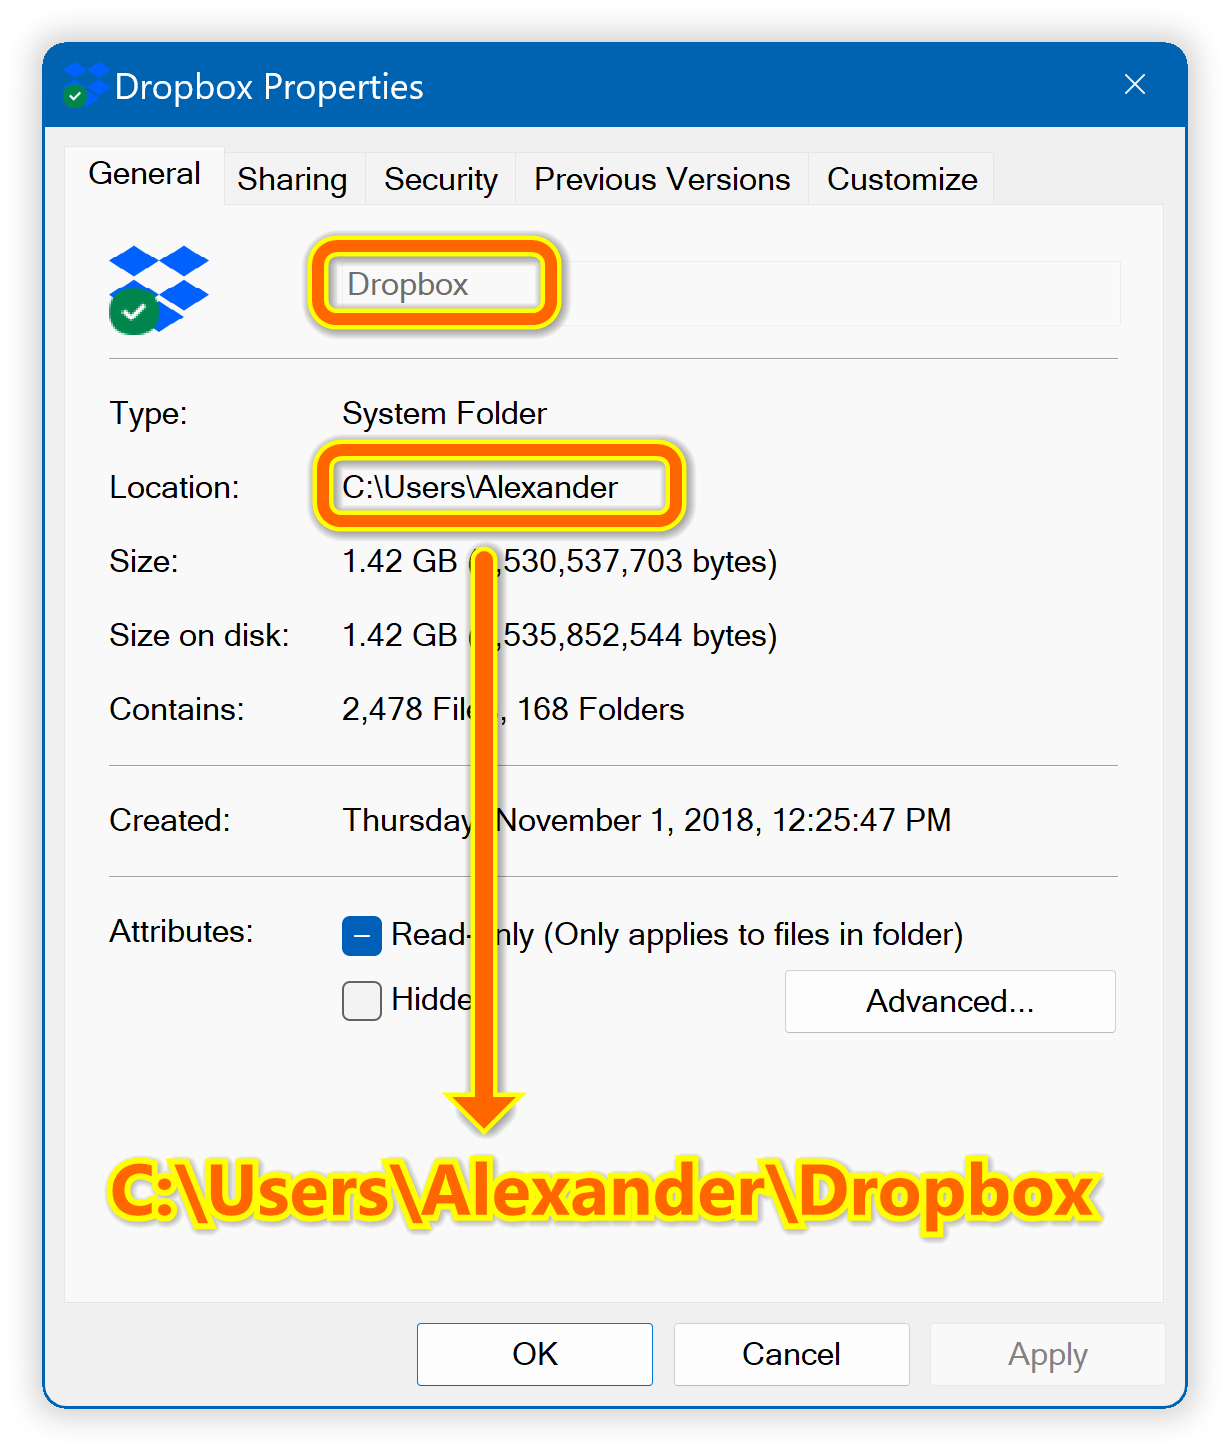
Step-by-step guide
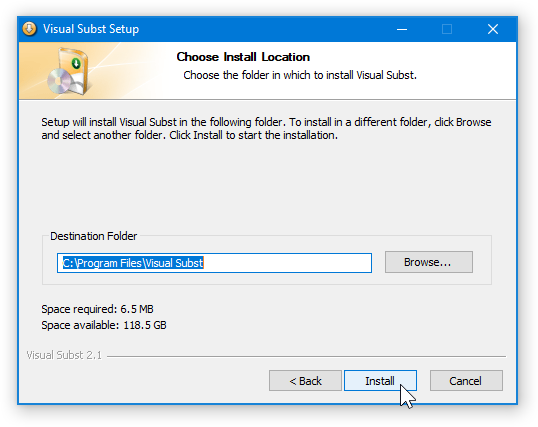
Step 1:Download and Install;Visual Subst.
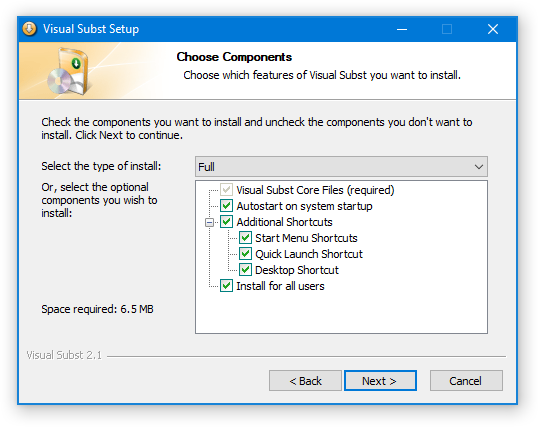
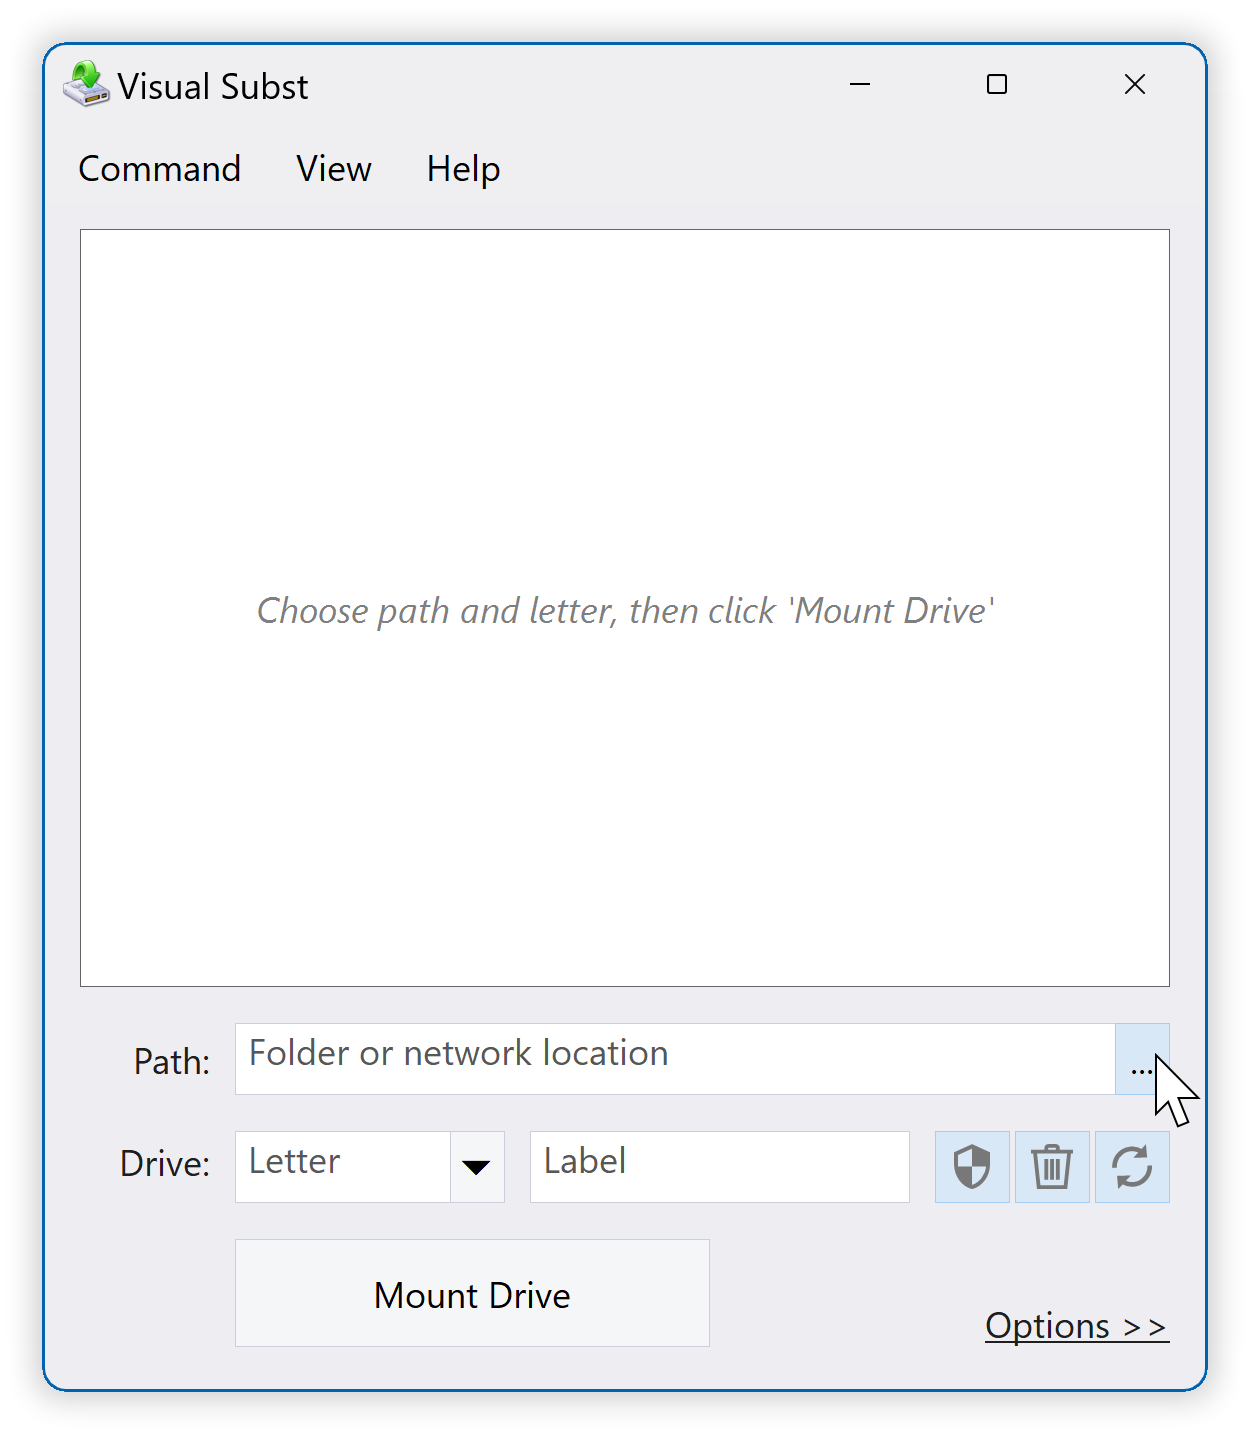
Step 2:Click the browse button with three points, and then set the path to your shared folder location.
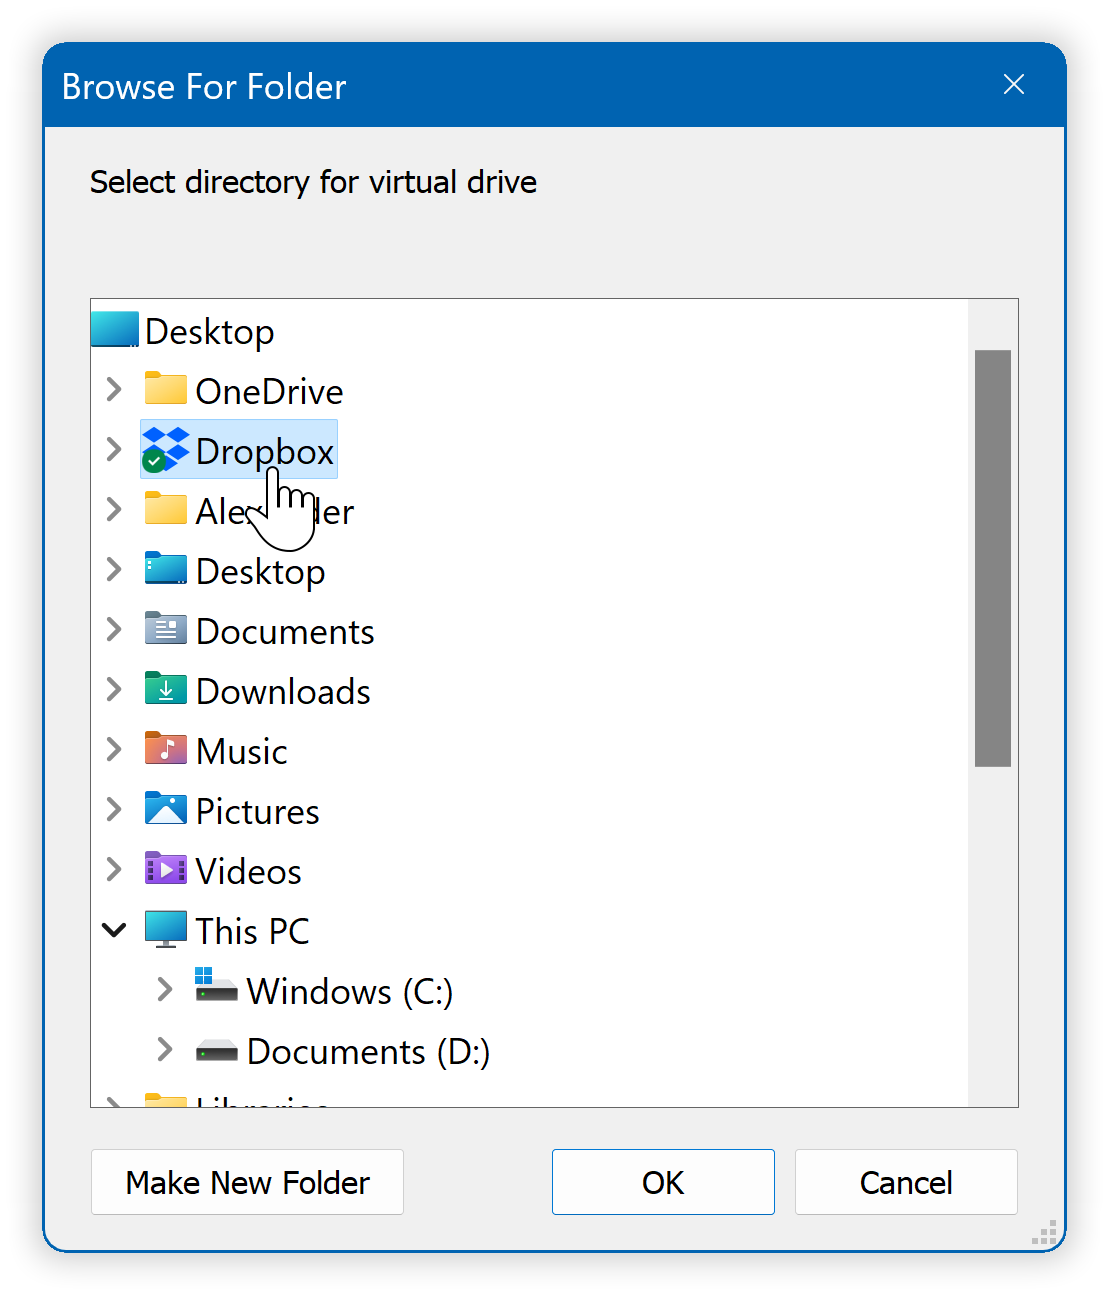
Step 3:Select drive letter and label
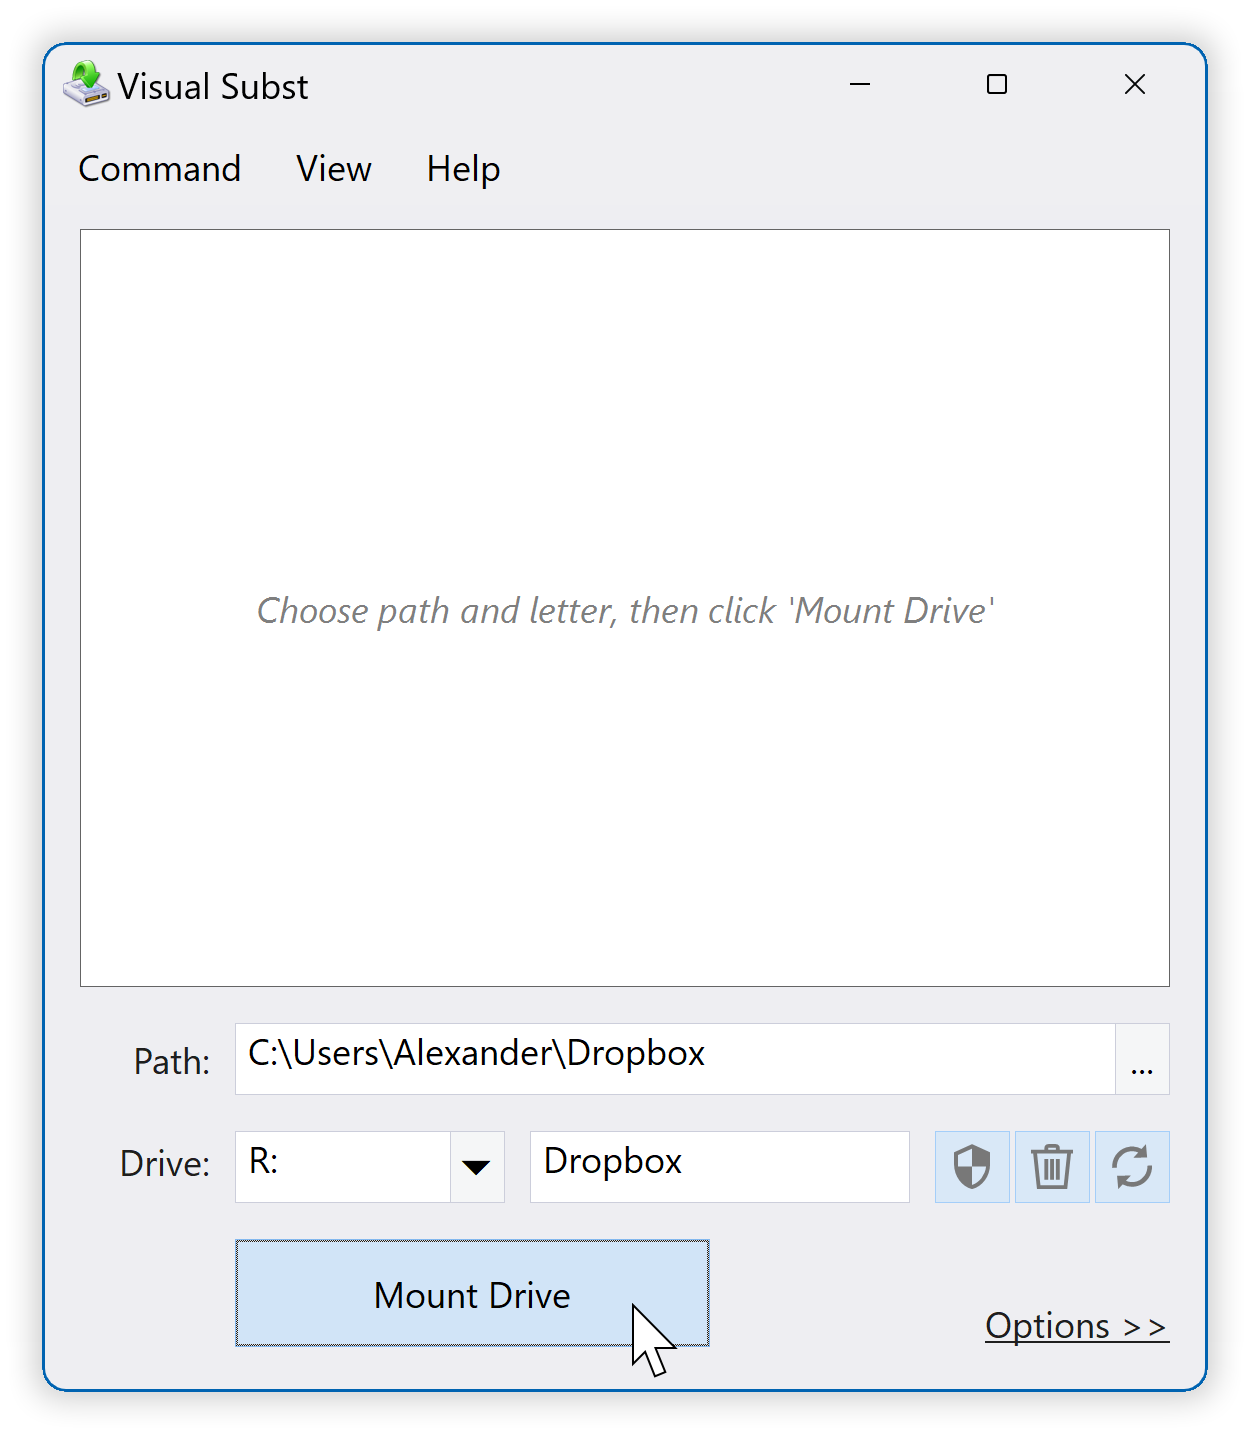
Step 4:Click Mount Drive to immediately create a virtual drive.
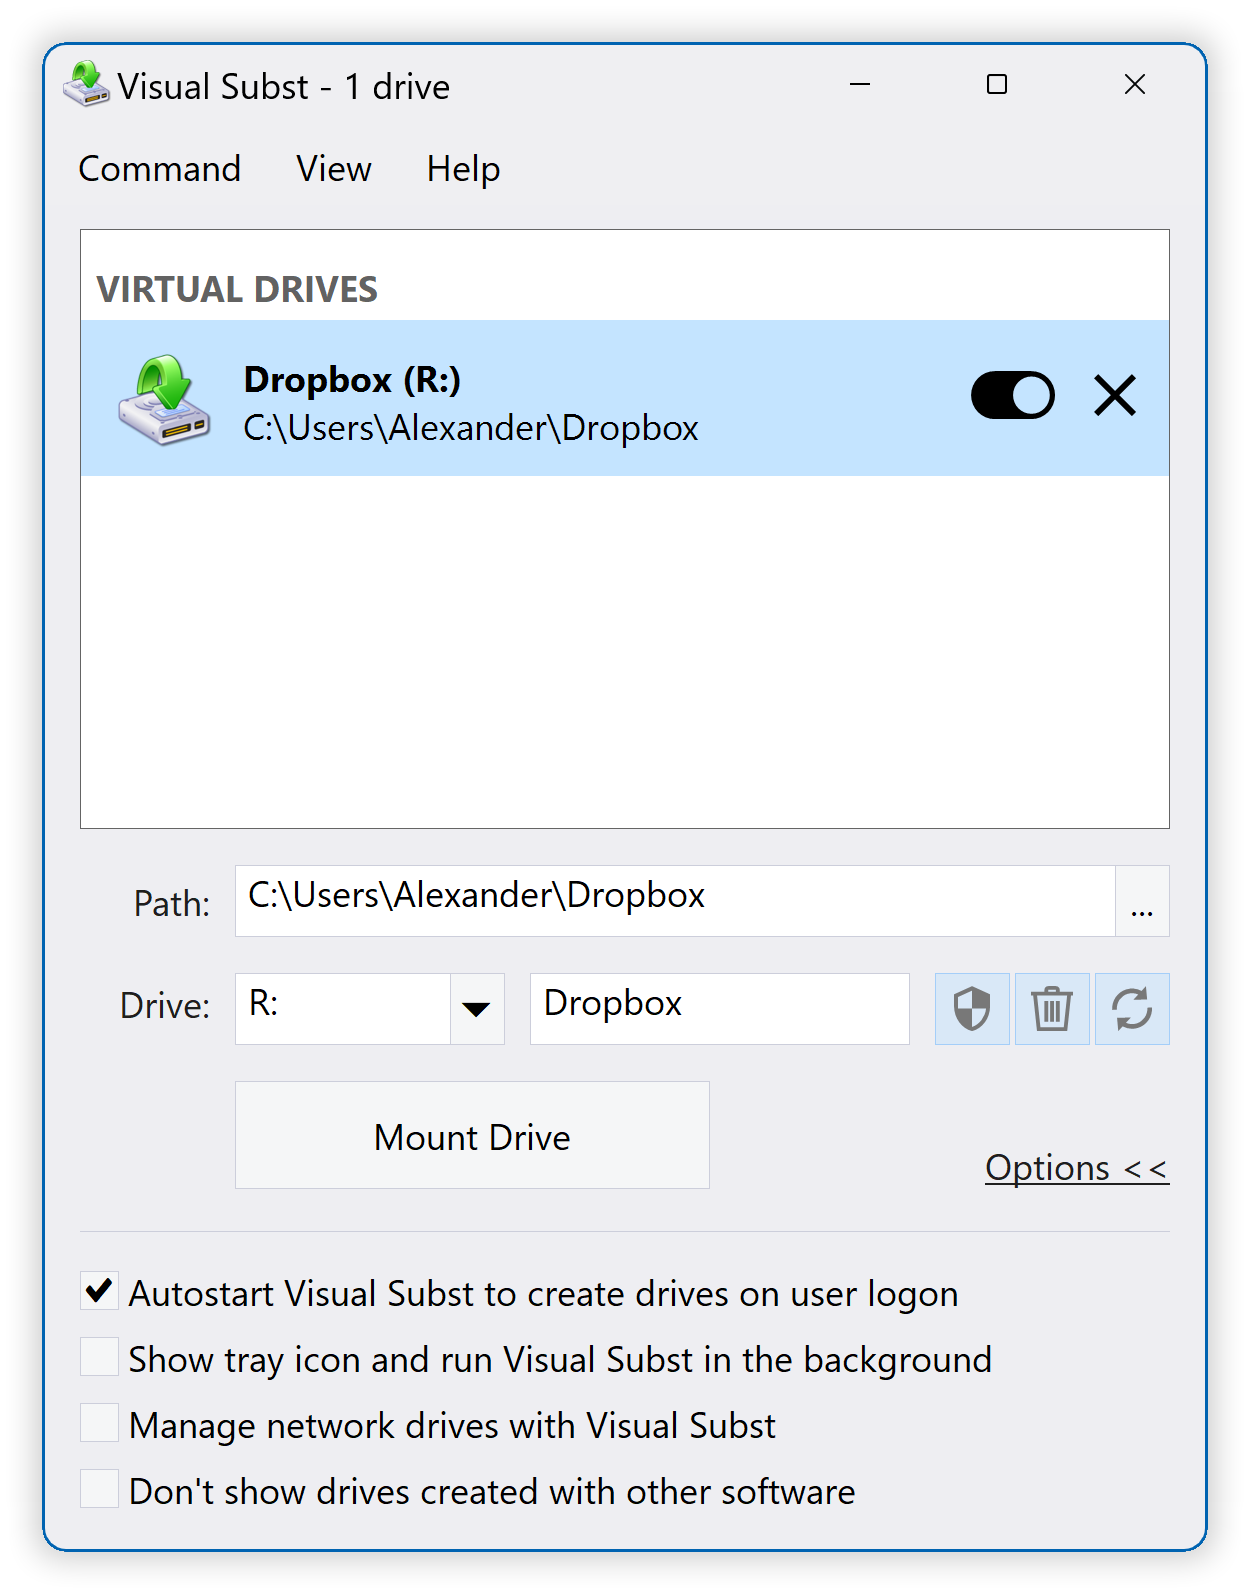
Now, you should see all shared files and folders on the virtual drive you created. If 'Auto start visual subroutine to create drive when user logs in' is enabled, the visual subroutine will restore the drive after the system restarts.
You can create virtual drives for Dropbox, OneDrive, or any other folder on your PC in the same way:
